The best way to activate MS Windows via your school's KMS

Despite the fact that most laptops bought from reputable platforms come with a pre-installed system, one may need to activate the system in the following cases:
- One has bought a laptop from an unofficial seller, or has built a PC by oneself.
- One has reinstalled the system incorrectly, and lost the activation.
- One wants to upgrade the system to Windows 11 Pro for Workstations, in order to use advanced features like Remote Desktop.
Most schools have bought a volume license for Windows, and have set up a Key Management Service (KMS) server, offering free activation for students and staff. However, it’s not unusual that the official instructions involve re-installing the system using the school’s image. Not only is this time-consuming and inconvenient, but it also purges the optimization to the system done by the PC manufacturer. This is not recommended unless one is building a new PC.
Instead, there is a much simpler way, as shown below.
Step 1: Connect to the school’s network
This is necessary because the KMS server is only accessible within the school’s network. If you are off-campus, you can use the school’s VPN to connect to the network.
Step 2: Change your product key
First, you need to find the KMS key of the edition of MS Windows that you want to use upgrade to on the official document. For example, the KMS key for Windows 11 Pro for Workstations (which is recommended for most users) is NRG8B-VKK3Q-CXVCJ-9G2XF-6Q84J.
Warning: Ensure that you are connected to the school’s network before proceeding to the next step. Otherwise, you will lost your original activation and may not be able to activate the system with the original key again if you don’t have the key.
Then, open Settings, go to Update & Security, and click on Activation. Click on “Change product key”, and enter the KMS key.
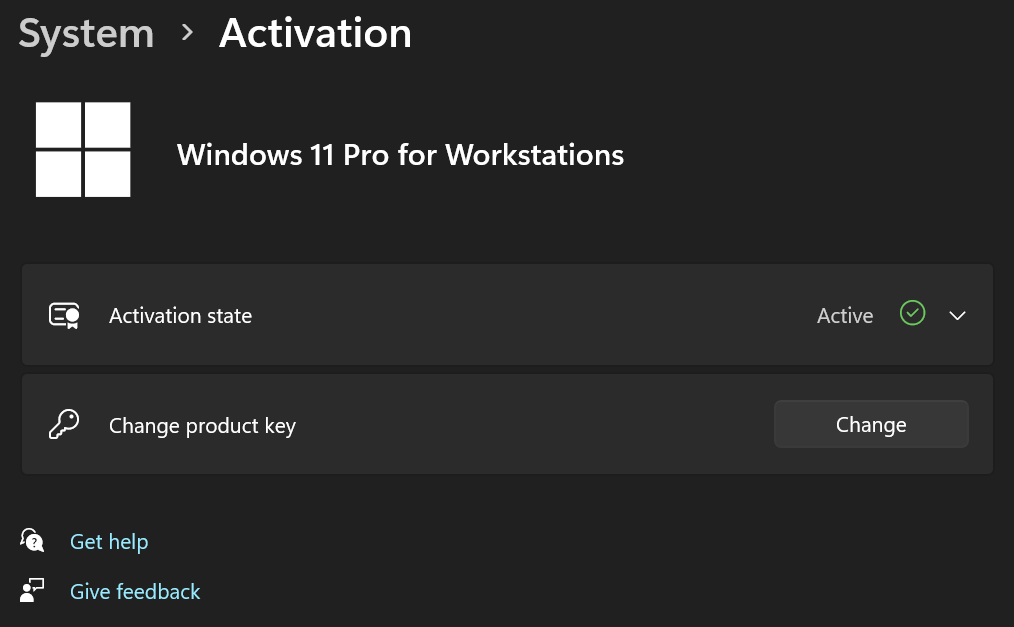
After changing the key, the system may prompt you to restart if you are switching to a different edition of Windows.
Step 3: Activate the system
After restarting, open Windows Powershell as administrator, and run the following command:
1 | cd C:\Windows\System32 |
Refer to the official document for more usage of slmgr.vbs.
If the system is successfully activated, you will see a message like Product activated successfully. Otherwise, you may see an error message, which you can google for solutions. As a tip, you can click on the pop-up window and press Ctrl+C to copy the message.
An activation lasts for 180 days, and will be renewed automatically as long as you are connected to the school’s network. If you are off-campus, you can use the school’s VPN to connect to the network and renew the activation.
Postscript 1
I recommend that every college student upgrade to Windows 11 Pro for Workstations.
For Chinese students in CS major, I strongly recommend that you change your system language to English.
Postscript 2
This post demonstrates the style of my future tutorials tagged with cs pro tips. I’m never going to write the kind of “Hello World” tutorials that try to (and often fail to) explain every detail to a complete beginner. Instead, I’ll keep it concise and only include the explanations, cautions and error handlings that are not easily found on the Internet.
It’s required that the reader be computer-literate. For beginners, it’s recommended to search and learn the basic topics and error handling methods in the correct way (more on that later) and by oneself. Though time-consuming and frustrating it may be, it’s the only way to become a real expert.
- Title: The best way to activate MS Windows via your school's KMS
- Author: Stargazer ZJ
- Created at : 2024-07-07 11:36:01
- Updated at : 2025-07-01 18:56:30
- Link: https://ji-z.net/2024/07/06/The-best-way-to-activate-MS-Windows-via-your-school-s-KMS/
- License: This work is licensed under CC BY-NC-SA 4.0.